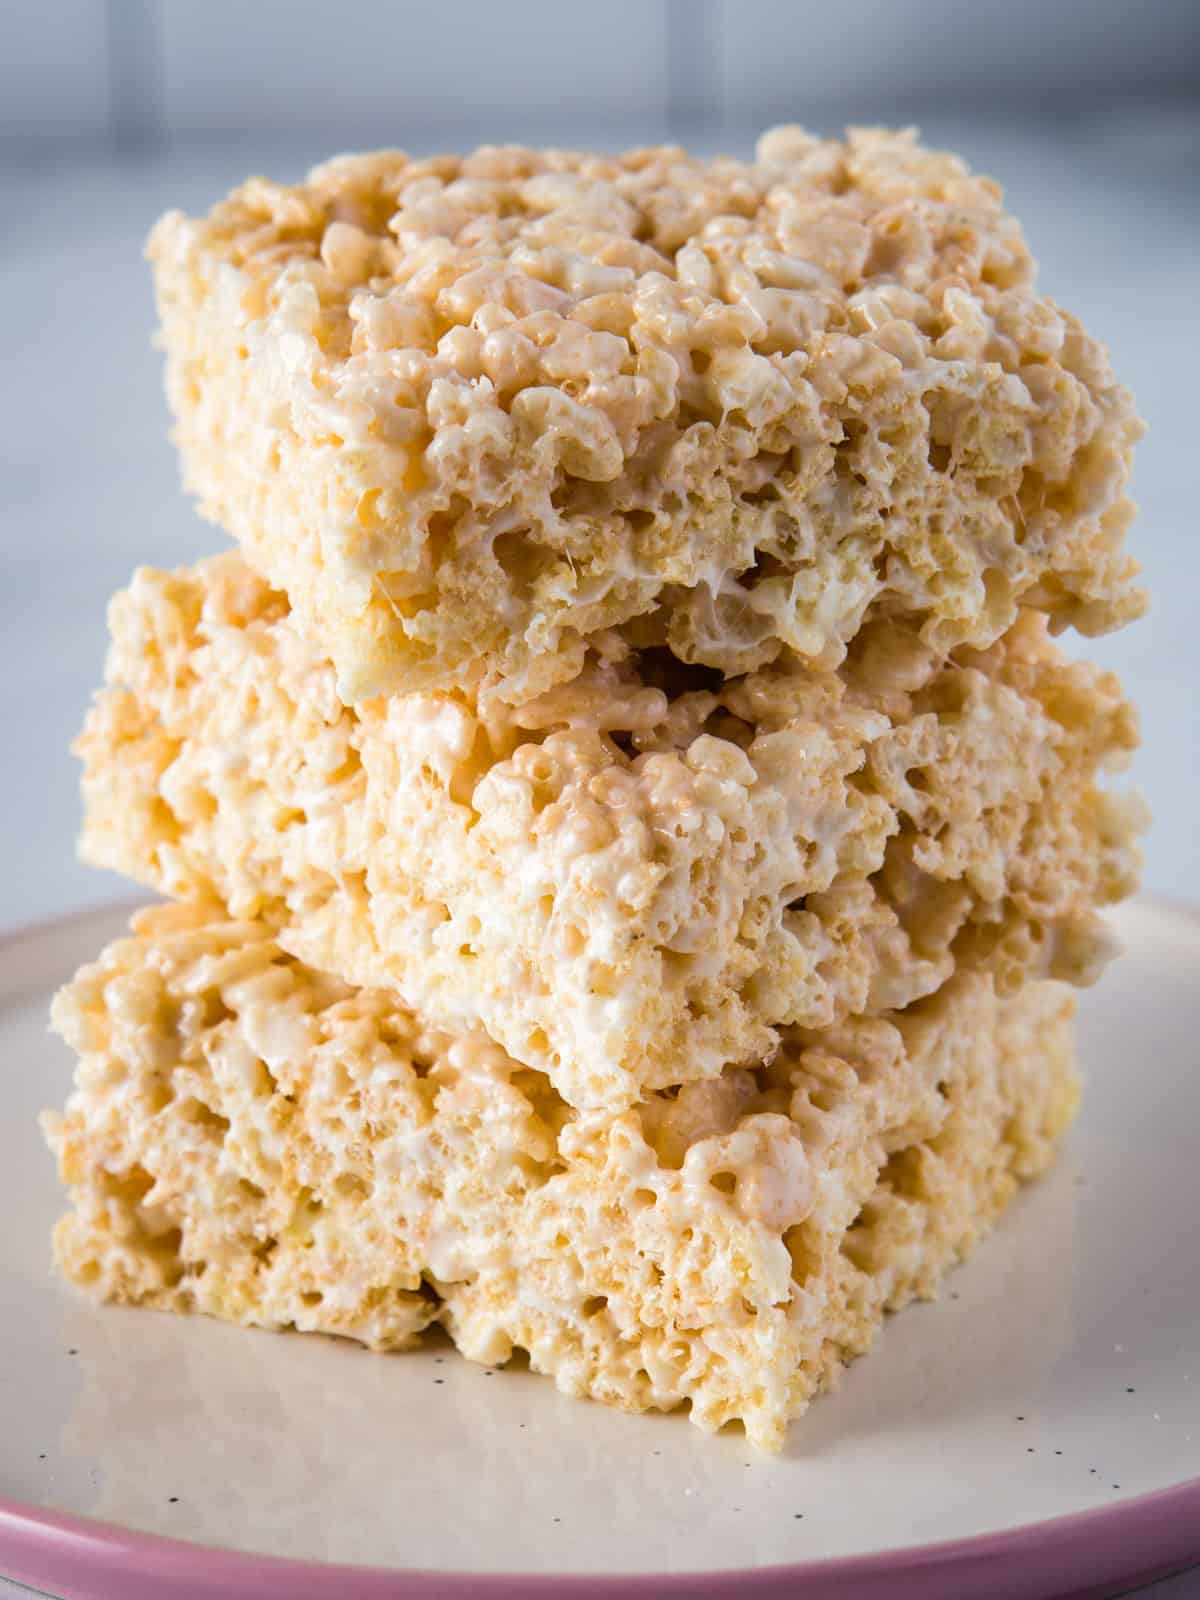
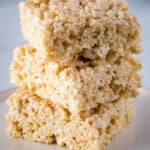
Classic rice crispy treats only require three ingredients: cereal, marshmallows, and butter. These bars come out soft and sweet. Just like you remember them!
How to Make Classic Rice Crispy Treats: Three Keys to Success
- Use More Butter. The recipe for rice crispy treats from Kellog’s uses a mere three tablespoons of butter. Increasing the butter makes treats that are soft with a lovely amount of buttery-richness.
- Keep the Heat Low. If you’ve ever wondered why your rice crispy treats turn out hard, it’s probably the heat. Melting marshmallows over high heat makes for crunchy, hard bars. When making rice crispy treats, keep the heat low.
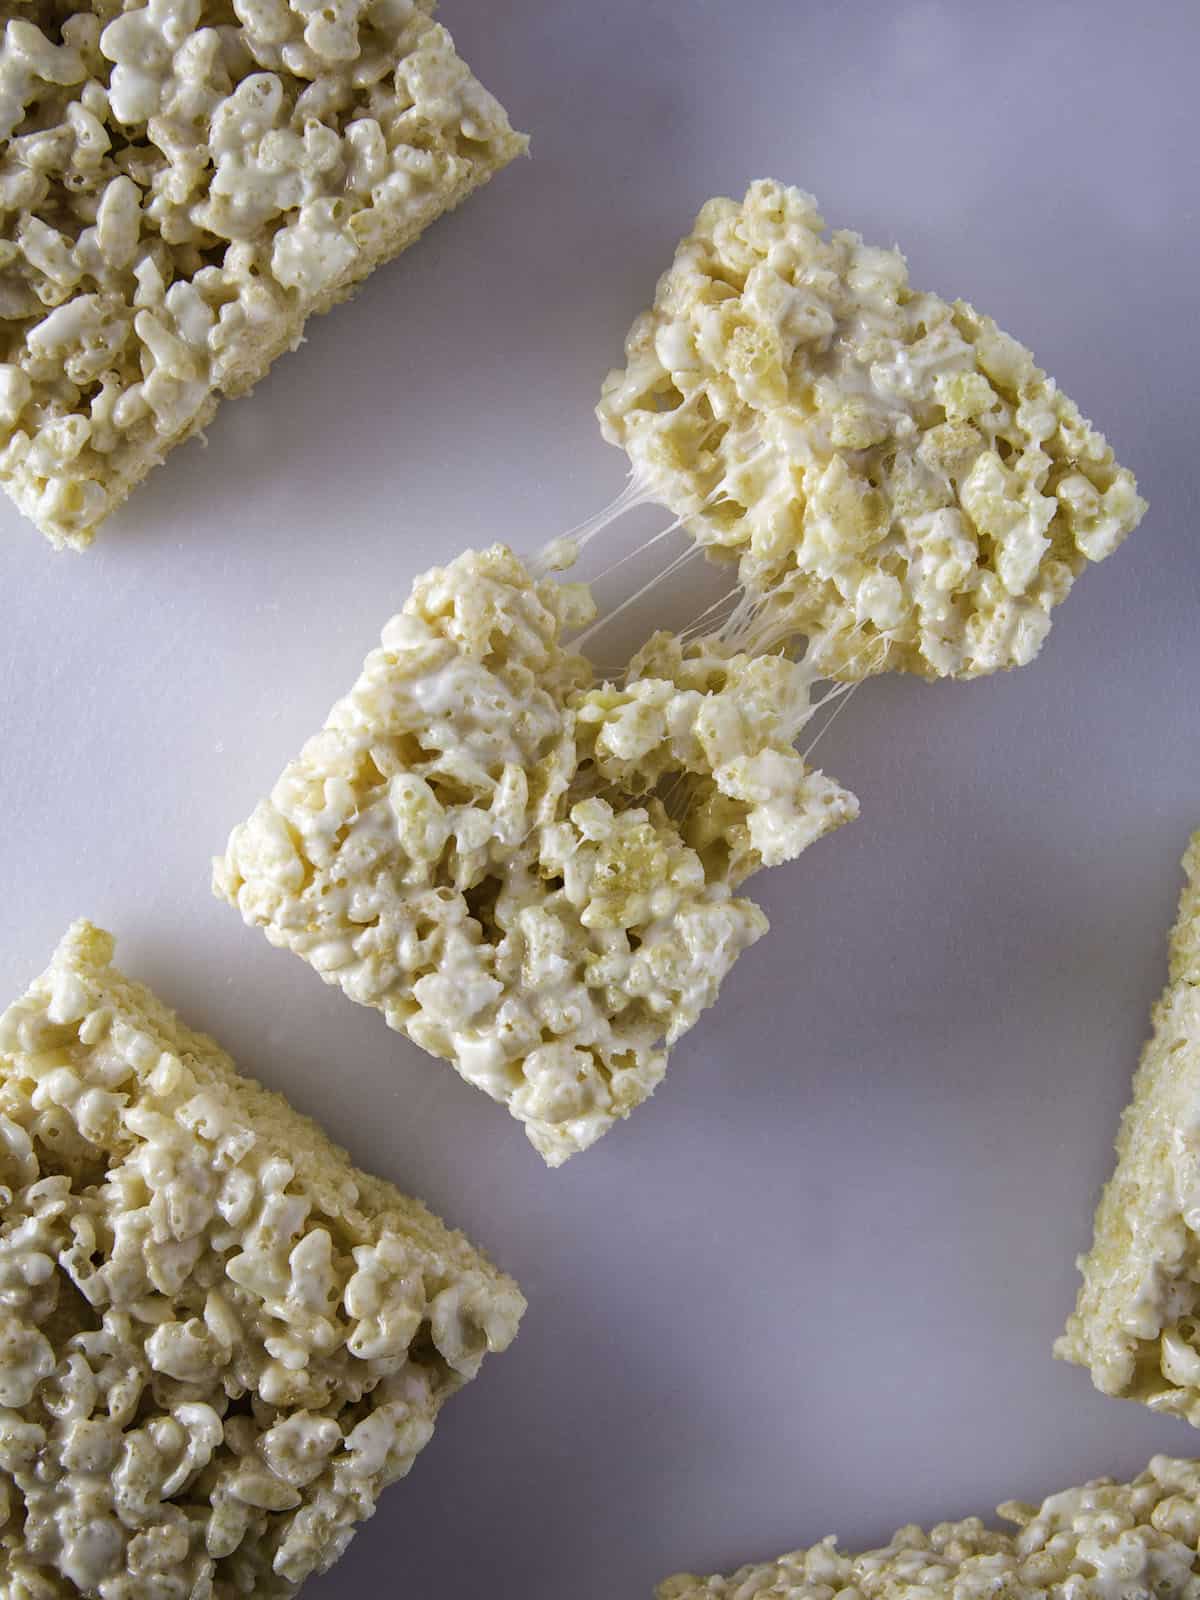
- Be Gentle. Since the rice crispy treat mixture is so sticky, it’s tempting to stir with force. This breaks up the cereal. Try to stir it as gently as you can. And when pressing the mixture into the pan, use a light touch. If you press too hard, the mixture compacts and gets hard.
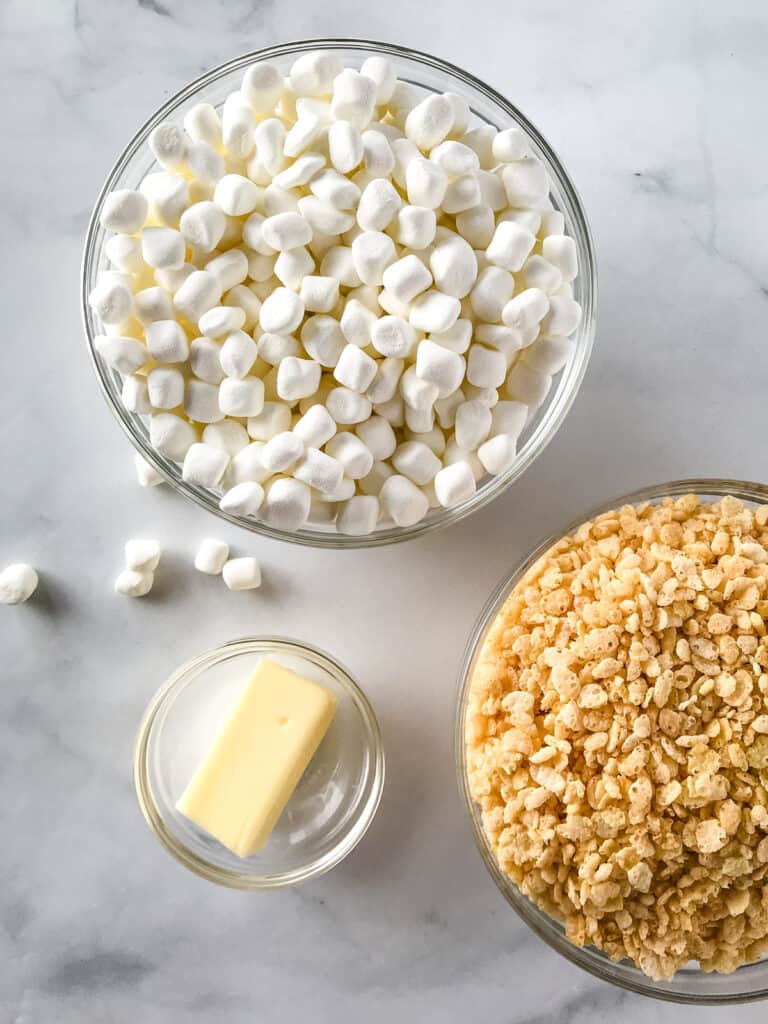
Classic Rice Crispy Treats: Essential Ingredients
Many recipes for rice crispy treats use add-ins, like my recipe for Oreo Krispie Treats. Today we’re making classic (and perfect!) rice crispy treats. And the good news? You only need three ingredients!
- Crispy Rice Cereal: For classic crispy rice marshmallow treats, use crispy rice cereal. The classic, of course, is Kellogg’s® Rice Krispies® cereal. If you’re gluten-free, use a gluten-free version.
- Butter: I like to use salted butter in this recipe. Unsalted butter, coconut oil, and margarine also work.
- Mini-Marshmallows: Mini-marshmallows melt easily. So I prefer them to full-size marshmallows for crispy treats.
Optional Ingredients
Vanilla Extract: A little vanilla extract enhances the flavor of the marshmallows. Add a half teaspoon of vanilla extract to the melted marshmallows before you add the cereal.
Salt: Marshmallow rice krispie treats are sweet. Which means that a pinch of salt compliments them nicely. (If you’ve eaten a chocolate chip cookie with a pinch of salt on top or a salted caramel, you know what I’m talking about.)
A pinch of salt (about 1/4 teaspoon) tempers the sweetness of rice krispie treats without making them salty. Add the salt with the butter or use salted butter.
How to Make Rice Krispie Treats: Keys to Success
- Use Low Heat. Have you ever eaten a rice crispy treat that was hard and crunchy? Yeah. Me too. To avoid hard rice crispy treats: melt the butter and marshmallows at a low temperature. If the melted marshmallows get too hot, the bars get crunchy when they cool.
- Press Gently. When pressing the mixture into the pan, don’t press too hard. This compacts the treats and makes them hard.
- Use Parchment Paper. This step isn’t required. A well-buttered pan works just fine. But the easiest way to get rice crispy treats out of the pan is to grease the pan. Line it with two pieces of parchment paper. (Criss-cross them) and, when the bars have set, lift them out of the pan with the help of the parchment. I use binder clips to hold the parchment paper in place.
How long do rice crispy treats last?
They taste best the day you make them. They can be kept for several days if you cover them tightly.
Can I refrigerate rice crispy treats?
Sure! They tend to get hard when cold. So allow them to sit at room temperature before enjoying.
Can I freeze rice krispie treats?
Yes, you can freeze rice crispy treats. Cut into squares. Place parchment or wax paper between the layers and a freeze for up to 2 months. Thaw at room temperature before serving.
Rice Krispie Treats Recipe
Ingredients
- 6 tablespoons butter, salted or unsalted (3 ounces; 85 grams)
- 1 (10 ounce) bag mini or regular marshmallows
- 5 cups Rice Krispies cereal (about 8 ounces; 226 grams)
Instructions
-
Prepare your pan. For thick bars: Grease an 8x8x2-inch pan with nonstick cooking spray or softened butter. For thin bars: grease a 9×13 inch pan with nonstick cooking spray or butter.
For the easiest removal, line the pan with two pieces of crisscrossed parchment paper.
-
Melt the butter. In a large pot, melt 6 tablespoons of butter over low heat.
-
Add the marshmallows. Add one 10-ounce bags of marshmallows. Stir until marshmallows are melted.
-
Add the cereal. Remove the pot from the heat and stir in 5 cups of crispy rice cereal until coated.
-
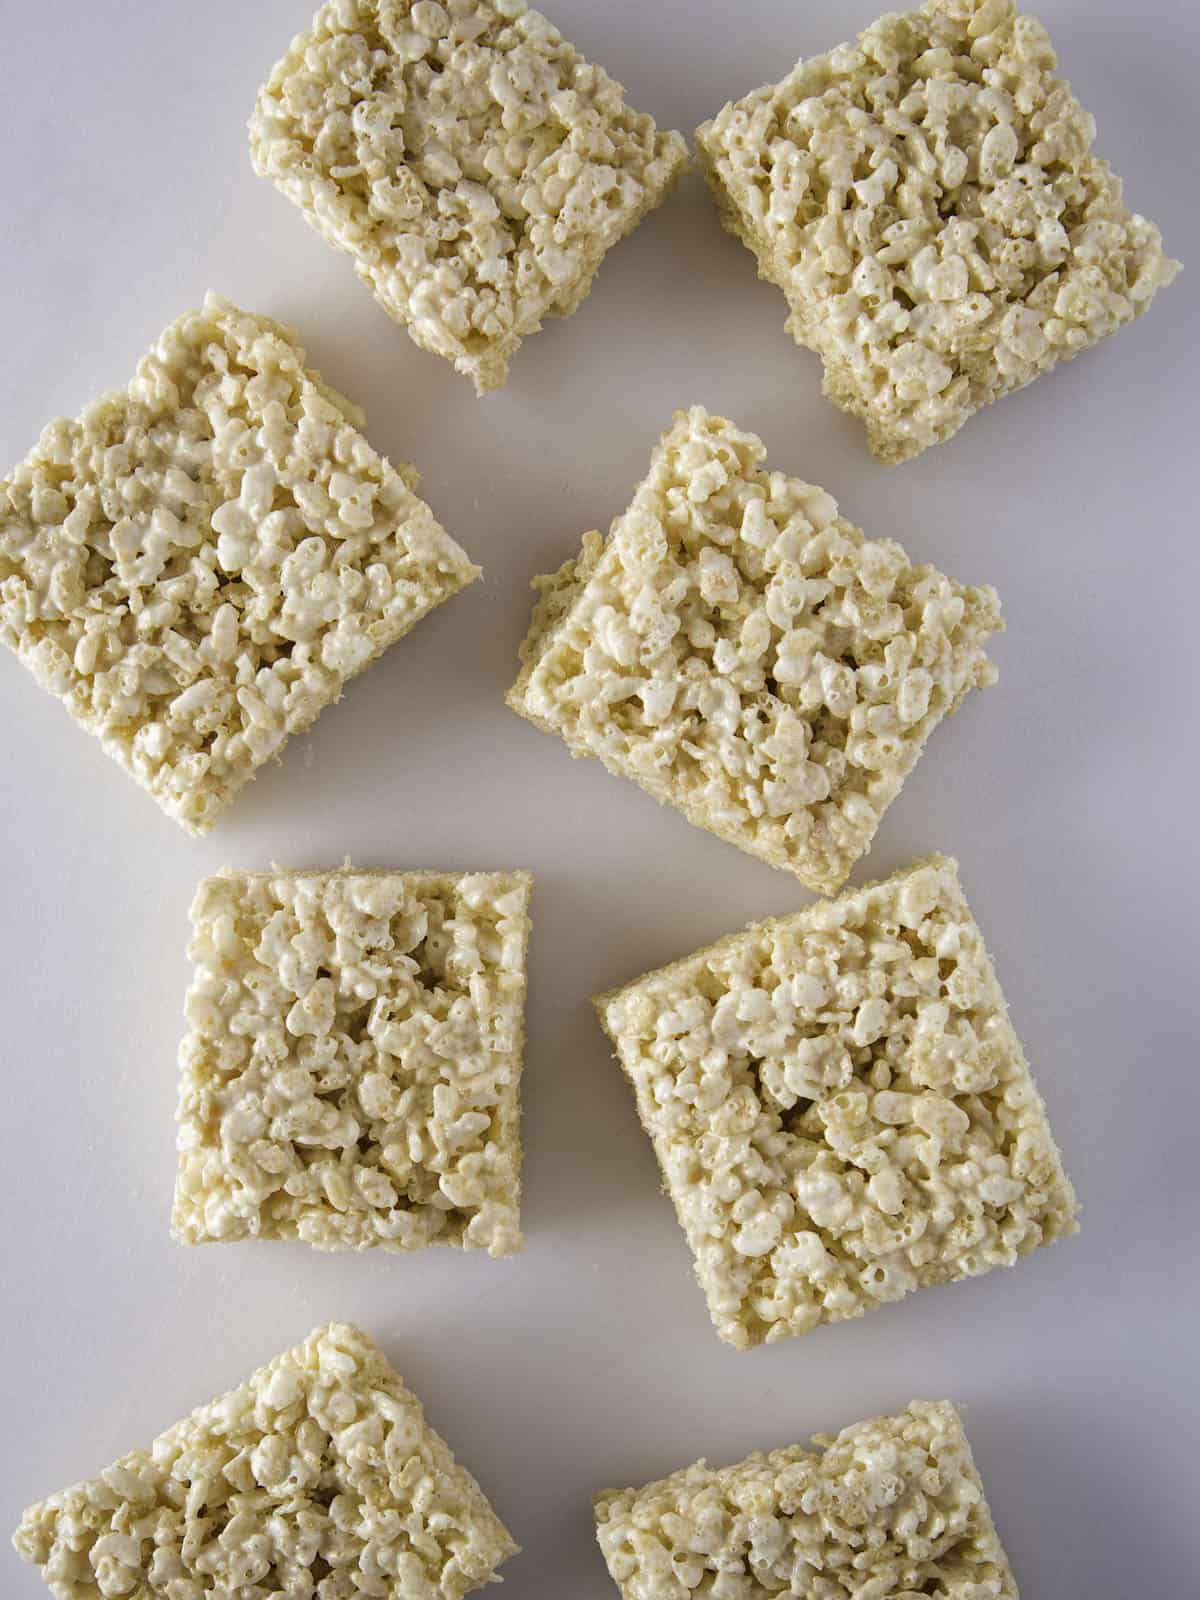
Press into pan. Gently press the mixture into the prepared pan.
-
Cut into squares. Allow the bars to set for an hour or so and then cut into bars.
-
Store at room temperature. Cover the leftovers and store at room temperature.
Recipe Notes
Butter. For the best flavor, use salted butter. Unsalted butter, margarine, and coconut oil can also be used.
Marshmallows: Mini-marshmallows melt the easiest. Regular marshmallows also work.
Store: Cover the bars and store on the counter. Rice Krispie treats may be refrigerated or frozen. Place a piece of waxed paper between the bars before chilling. For the best texture allow the bars to come to room temperature before serving.
Melanie Heldreth says
This is the recipe my mother made in the 70’s/80’s.What I use.The store bought ones lack buttery flavor and are less gooey/chewey due to a lesser marshmallow presence.The standard recipe on the cereal box is more crispy then chewey.Homemade is best and this is the best recipe I’ve used.
Barbara Baugh says
This is my Moms recipe l used as a child n lm 73!!! I had forgotten though what to use to press the rice krispie treats in the 9X13 pan !So others may need to know to either butter your hands or use wax paper to put the melted Krispies in ur pan Otherwise it can be really messy
n difficult !
Elizabeth says
Or use the butter wrapper.
Ruth says
Wet your hands with cold water. Mixture wont stick. Reset when needed.
jo hovey says
I have always made my treats this way. Sometimes I go crazy with the butter and not only butter the pan, but on top as well. Buttering all sides make it easier to press down, and also the flavor is really buttery and less sugary.
Jim Pikus says
How do I make my bars more firmer? They seem to be to soft
Elizabeth says
If you prefer your bars a little firmer, heat the marshmallows over a hight heat. The hotter the marshmallows, the firmer/crisper the bars.
Marie says
This is my grandmother’s recipe. She was very poor and made them often as they are very economical. I make them just as she did. She
just buttered the pan and they came out fine. Real butter
was the one thing she splurged on and only used it in
her cooking, not for buttering bread.
Nyka Morris says
Followed this recipe…best bars ever!! Buttery and gooey just as I remember as a kid. My boys 5 & 7 along with hubby couldn’t get enough.