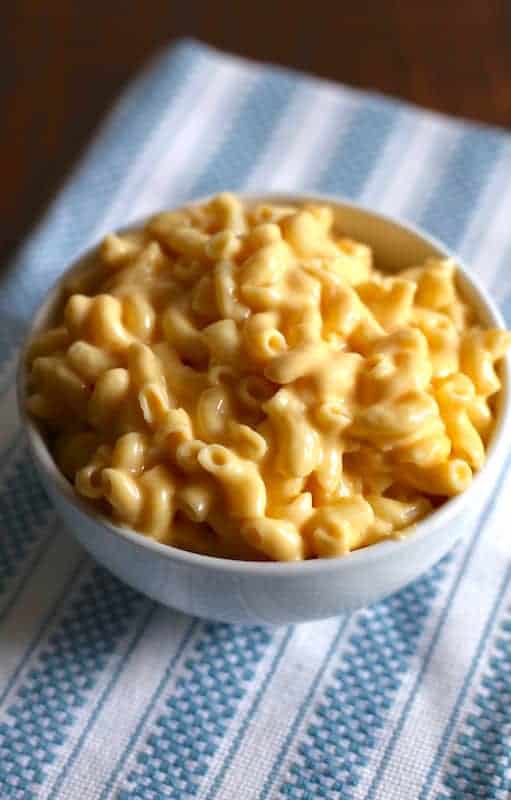
Mac and Cheese from a pressure cooker? Yes!
If I’m going to make homemade mac and cheese, it must be good. After all, this dish is really rich. I don’t want to waste those ingredients or calories on something so-so. As much as I love my Instant Pot, I wasn’t sure if I wanted to make mac and cheese in it. But a recipe caught my eye and I thought something like, “Eh. What the heck?”← that’s the way all good life decisions start, right?
After one taste, seriously, one taste. I was hooked. Over time, I tinkered with the recipe so that it came out they way I like mac and cheese: really creamy and flavorful.
This recipe, unlike traditional stovetop mac and cheese, doesn’t require a separate cheese sauce. You simply cook the pasta under pressure, add the milk, an egg (the egg is optional but suggested), and cheese. A little mustard and hot pepper sauce are added for flavor and you’re done.
Mac and Cheese in minutes. Woo-HOO!
Pressure Cooker Mac and Cheese: The Ingredients
The Macaroni
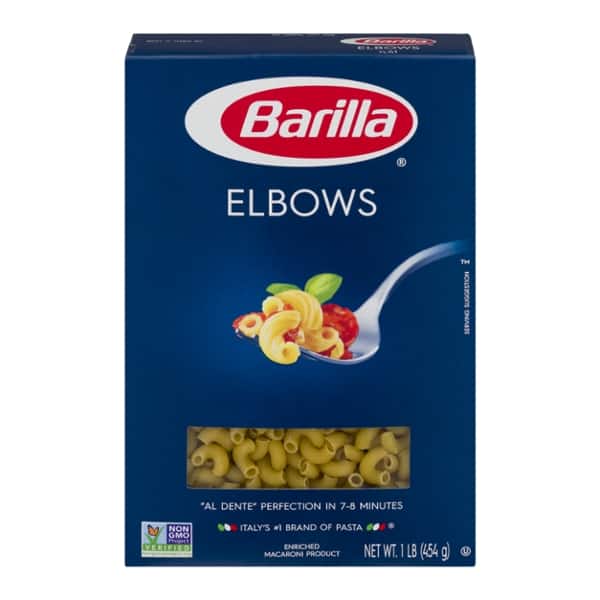
Some people make their mac and cheese with shells. Others make it with penne. Some reach for ziti. I’m firmly in the elbow macaroni camp. Not only do I love the way this shape hugs the cheese sauce, it also cooks perfectly in a pressure cooker without coming out crunchy or, even worse, gummy.
If you follow a gluten-free diet, use Barilla elbow pasta. It cooks nicely and reheats really well without getting weird and crunchy.
The Milk
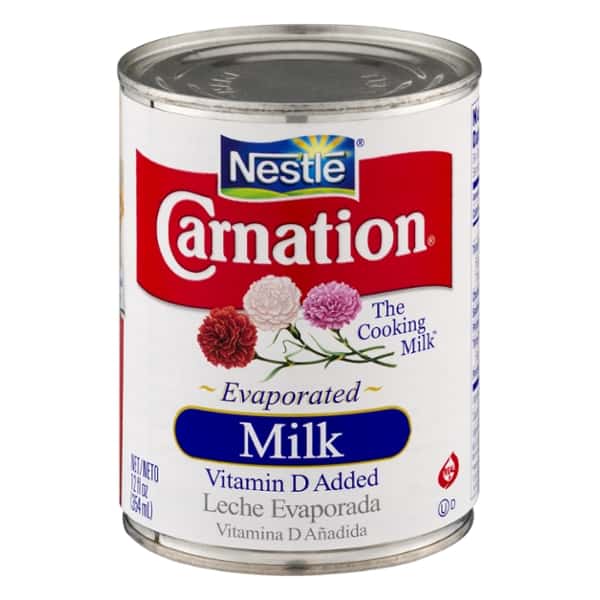
The inspiration for this recipe came from the Cook’s Illustrated’s Pressure Cooking Perfection cookbook. (affiliate link) That recipe uses evaporated milk. I really, REALLY wanted to redo the recipe and make it without evaporated milk. For some reason, I found this ingredient to be a pain. I rarely keep evaporated milk in the house. I tried the recipe with whole milk. I tried it with half and half. I tried it with a mix of both. (And I went to the gym a LOT).
None of those ingredients worked as well as the can of evaporated milk. The recipe made with whole milk wasn’t quite creamy enough. All half and half made it too rich. The combination of whole milk and half and half was actually pretty good. But having to have both whole milk and half and half was more of a bother than a can of evaporated milk. So evap milk it is!
Be sure to use regular evaporated milk and not the light or low-fat version.
The Egg (Optional)
A bowl of macaroni and cheese must be a rich creamy affair. To achieve this texture, I’ve always used an egg. This recipe is no exception. It adds a custard-like note to the cheese sauce without making it eggy. If you’re allergic to eggs, skip it. If not, I encourage you to add the egg. It takes the recipe from excellent to heavenly.
The Cheese

There’s always some disagreement on what type of cheese makes the best mac and cheese. I like a combination of Cheddar and Colby-Jack. The Cheddar brings the flavor and sharpness, while the Colby-Jack brings a delicate creaminess. For me, no other combination tastes as good. And this is one time to skip the extra sharp or aged Cheddar cheeses. They won’t melt as well in a quick recipe like this one.
If you have the time, I recommend grating your own cheese. Pre-shredded cheese is coated with cellulose to prevent it from clumping. This tends to dry out the cheese and, in my opinion, doesn’t make for as creamy a mac and cheese.
Pressure Cooker Mac and Cheese: Putting it Together
Cooking the Pasta
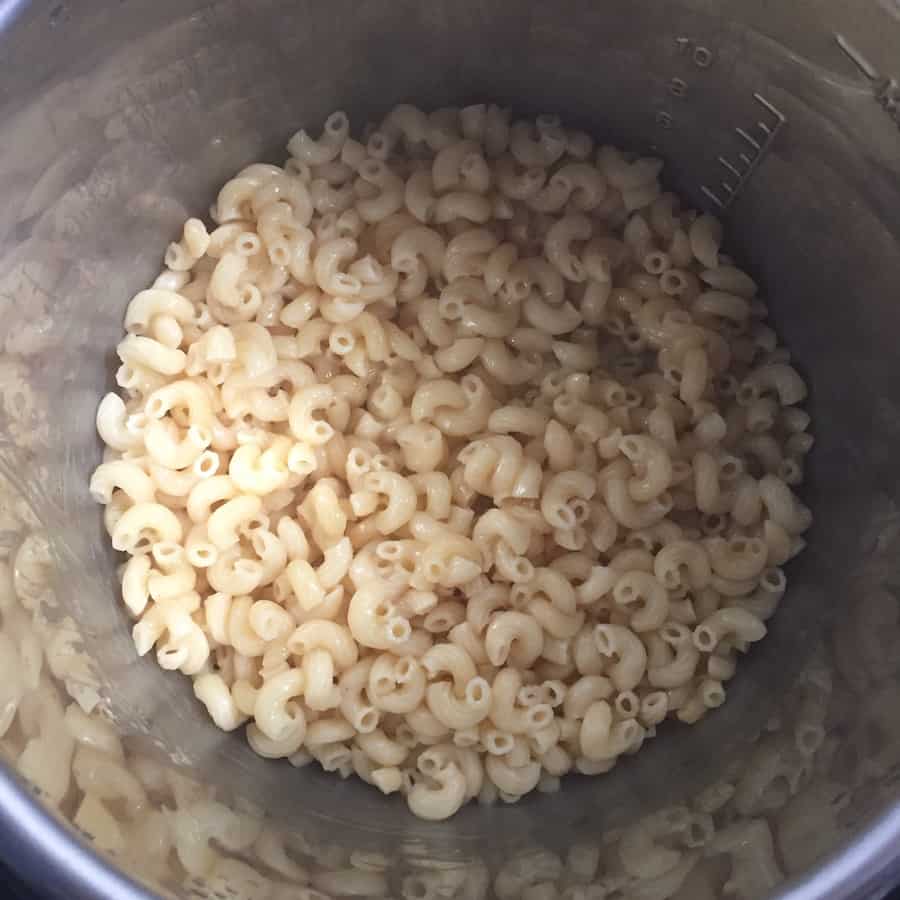
The pasta is the only ingredient that gets cooked under pressure. To cook, combine the pasta with water, salt, and butter. Yes, butter. Not only does the butter add richness to the noodles, it also prevents foam from forming as the pasta cooks.
Thanks to the speed of the pressure cooker, the pasta cooks in only four minutes under pressure. (Remember, it will take time for the machine to reach pressure. So allow for that.)
After the cooking cycle completes, the pasta needs to rest in the pressure cooker for one minute before releasing the pressure. If you use an Instant Pot like I do, the keep warm cycle kicks on and the display will read L00:01. Don’t go wandering around during this minute. If the pasta sits for longer than that, it can overcook.
Release the pressure using a quick release. Give the pasta a stir. It should look like buttered noodles. (I always try a noodle or two…for research.)
Adding the Milk and Egg
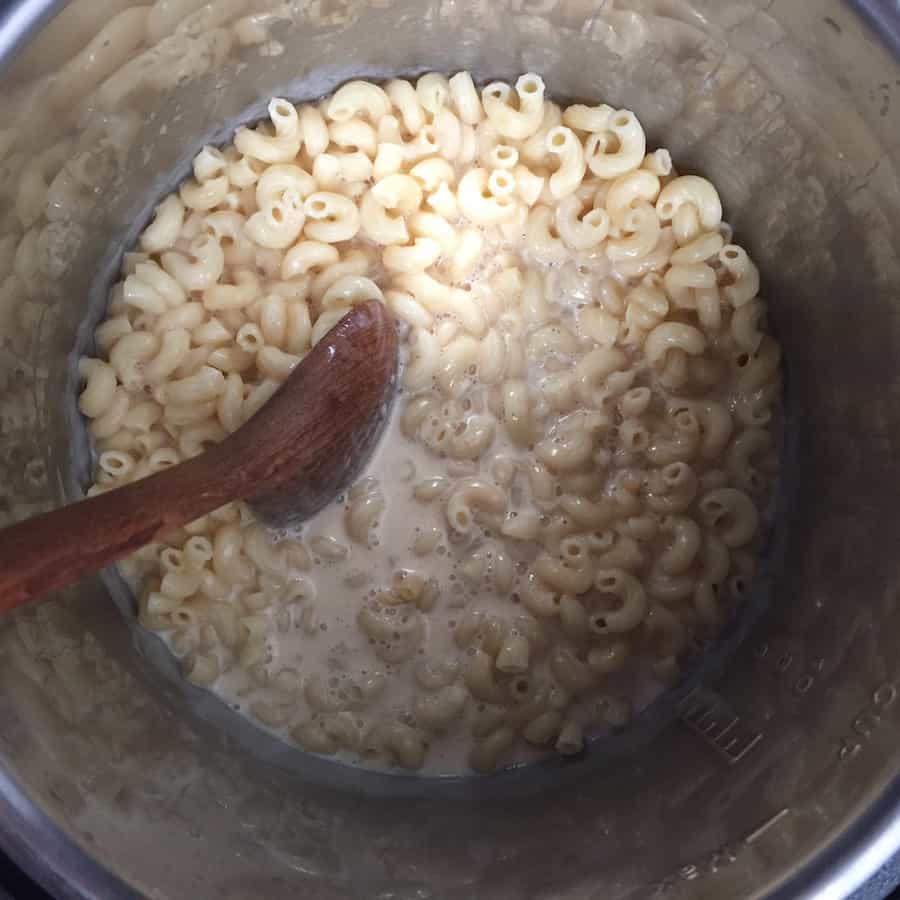
Then add the evaporated milk and egg. The mixture will look very thin at this point. That’s normal. Stir, with the keep warm setting on, for about two minutes. All of a sudden, the sauce thickens as the egg cooks. (A whole egg cooks at around 144 degrees F. The heat from the pasta and the keep warm setting reach that temperature easily.)
Be sure to stir during this process or the milk mixture can get curdled and clumpy. As soon as the mixture thickens, start adding the cheese. If you cook the milk too long, it can overcook and get too thick.
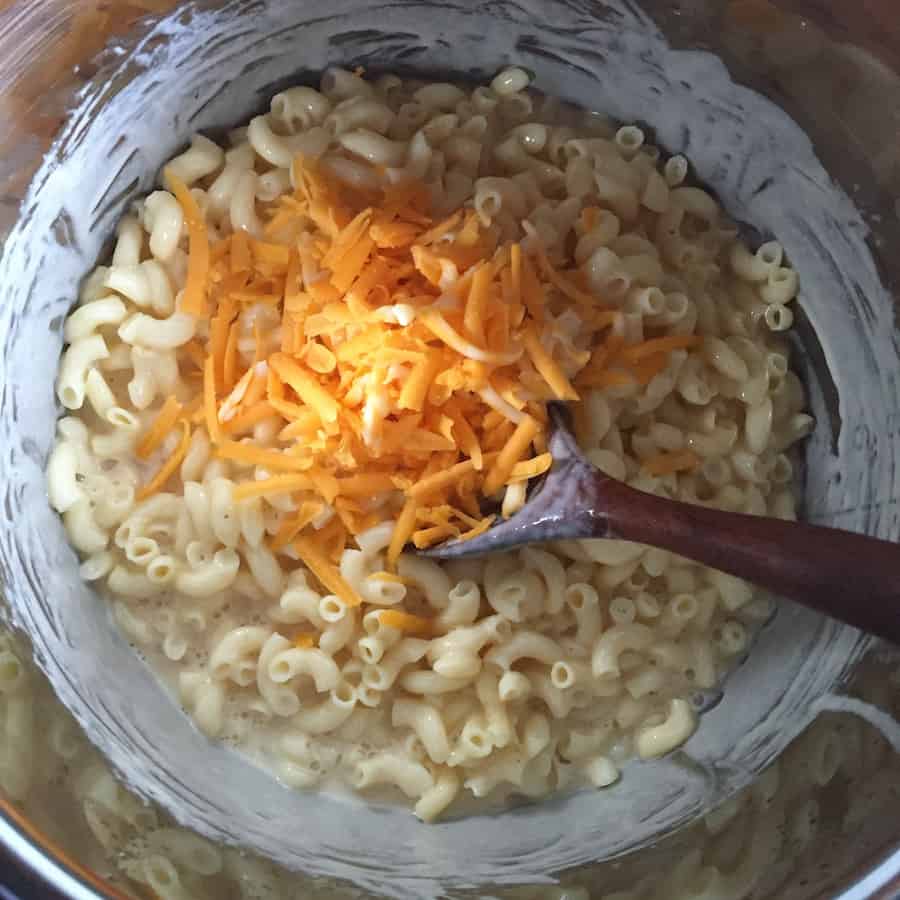
Adding the Cheese: Three Steps to Perfection
Traditional macaroni and cheese recipes usually start with a cheese sauce made with a roux (a cooked mixture of butter and flour). After cooking the roux, you add the cheese slowly to prevent it from breaking and turning oily.
This recipe doesn’t use a cheese sauce but you do want to add the cheese slowly. If you were to dump eight ounces of cheese in at one time, the temperature of the pasta would drop quickly and the cheese would only sort of melt. “Sort of” melted cheese gets clumpy. It’s easy to avoid this! Just add about 1/3 of the grated cheese at a time. Stir gently until it melts about 90% and then repeat with another 1/3. Repeat this until you’ve added all the cheese. And then? Done!
Once the macaroni and cheese looks creamy, immediately transfer it to a serving dish. The pot of the pressure cooker, even when removed from the unit, holds too much heat and can cause the cheese sauce to overcook.
Topping and Other Variations
This mac and cheese tastes pretty perfect right out of the pot. That doesn’t mean you can’t dress it up. Here are some nice options:
- Top with Breadcrumbs and Bake: Pour mac and cheese into a buttered casserole dish. Top with breadcrumbs and bake in a preheated 350 degree F oven until bubbly, about 15 minutes. (I don’t recommend broiling because the breadcrumbs tend to burn quickly under a broiler.)
- Add Scallions: A few snipped scallions, either the root end or the green top, add a nice onion-y zip. You can either stir into the finished mac and cheese or sprinkle on top.
- Add Bacon: The most over-the-top addition: crispy bacon. For me, it has to be a good smokey bacon.
- Combine with Chili: My husband likes to combine mac and cheese with veggie chili. The combination works surprisingly well.

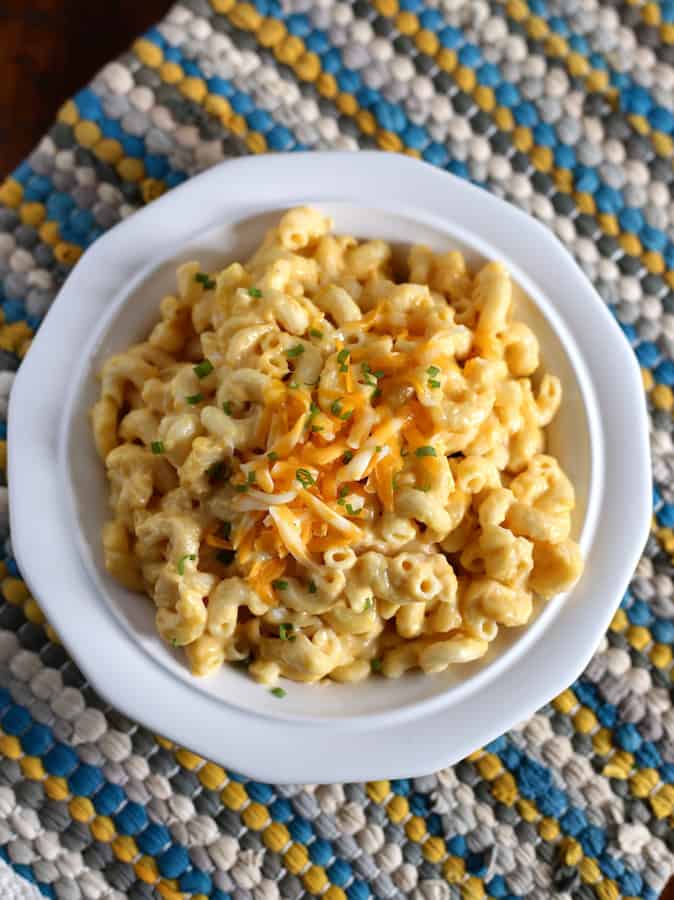
Pressure Cooker Mac and Cheese
A blend of Cheddar and Colby-Jack makes for a creamy mac and cheese.
For best results, use elbow macaroni. (Barilla brand for gluten-free)
Ingredients
- 2 cups water
- 1/2 teaspoon salt
- 2 cups elbow macaroni (for gluten-free, use Barilla pasta)
- 2 tablespoons butter, unsalted cold or room temperature
- 1 (12 ounce) can evaporated milk
- 1 large egg
- 1 teaspoon spicyy brown mustard
- 1/2 teaspoon hot sauce optional
- 1 1/2 cups (4 ounces) grated sharp Cheddar cheese
- 1 1/2 cups (4 ounces) grated Colby-Jack cheese
- salt and pepper , to taste
Instructions
-
Combine water and salt in the pot of an electric pressure cooker. Stir to dissolve the salt. Add the pasta and butter. Lock lid in place. Set a 4 minute cook time on high pressure.
-
While the pasta cooks, whisk together evaporated milk, egg, mustard, and hot pepper sauce in a small bowl.
-
Once the cook cycle completes, allow the pasta to sit for one minute. After one minute, open the machine using a quick pressure release.
-
If it isn't already, turn on the "keep warm" setting. Pour the milk mixture over the pasta. Stir until it thickens, about two minutes.
-
Stir the pasta to remove any clumps. If any water remains, drain the pasta. Add 1/3 of the cheese. Stir the macaroni until the cheese melts. Repeat, adding 1/3 of the cheese at a time, until all the cheese had been added.
-
Once the cheese has melted, remove the pot from the pressure cooker and immediately pour the macaroni and cheese into a serving dish. If the pasta stays in the cooking pot, it can overcook and turn curdled and lumpy.
-
Season to taste with salt and pepper. Serve immediately. Store leftovers in the refrigerator for up to three days. Reheat, covered, in a microwave.
Recipe Notes
- Be sure to turn pressure cooker to the "keep warm" setting when adding the milk, egg, and cheese.
- As soon as the milk mixture thickens, begin adding the cheese.
- Add the cheese in three additions. Stir and allow the cheese to melt before adding the next handful.
- As soon as all the cheese melts, pour the mac and cheese into a serving dish to prevent it from overcooking.
Staci Baker says
Spectacular!
Elizabeth says
Yee-Haw! Glad you like it! ❤️
Alice at Hip Foodie Mom says
I love mac and cheese! Gotta bust out the pressure cooker.
Megan @ MegUnprocessed says
Kids of all ages love these.
Alicia says
We loved this—delicious and easy. Made a nice salad while the noodles cooked, and voila. Perfect quick and yummy dinner. Thanks as always!
Elizabeth says
Yay! I’m so glad you enjoyed this. ❤️
Sue says
It’s terrific, my first Instant Pot mac n cheese!
Elizabeth says
Glad you enjoyed it!
Elizabeth Jordan says
Thank you for all the information! I just got my Instant Pot today. In reading the directions it says not to cook any pasta, even macaroni, because it can foam, froth and sputter and clog the preasure release device. Have you noticed this to be an issue?
Thanks
Elizabeth says
Yes. That’s totally true. I’ve not experienced an issue. Just be sure not overfill the pot and always use butter or oil while cooking the pasta to keep the foam down.
Hf2 says
It was great and fast ! Thanks !
Hf2 says
Btw i used the nordicwave microwave pressure cooker
And it was so good .
Elizabeth says
Thanks for letting me know! I haven’t tried that brand yet.
GrammaH says
Barilla does make a gluten-free elbow pasta, but the box pictured is not gluten-free. If you need gluten-free, be sure to get the correct variety of pasta–it shows “Gluten-Free” on the box, just below the Barilla label.
Sher says
Followed recipe exactly. Looking at watery cheesy something with macaroni. Not happy.
Elizabeth says
Hmm…I’ve never had that happen. What type of pasta did you use? It usually looks thin when you first add the evaporated milk. Then during the two minute cook, it thickens. Did it thicken during this step?
sher says
Elbows. And it never thickened. It’s like a soup — and a very bland soup at that. 🙁 So bummed!
Kim says
This happened to me too. Except it is delicious soup. The flavor really depends on the cheese you use. For me the sharper the better. I think where I went wrong was my macaroni noodles were a very large variety. Had I used two cups of the regular type I’m sure it would have been perfect. It’s actually the first Mac and cheese I’ve made that did break. I should have drained the water left in the pot after cooking the noodles I think.
Elizabeth says
Yes. For pressure cooker recipes, the style of pasta really matters. If you used large noodles they would not have cooked or absorbed the water the same way.
Kim says
I made this again tonight with normal sized elbows. It is perfect!!!
Elizabeth says
Yay! Glad to hear it!
Kim says
I accidentally got Fat Free evap milk once and the same thing happened…could this possibly be the culprit? Sorry for chiming in, I just remember how gross mine was! Sometimes the labels look identical! Needless to say, I’m EXTRA careful when I look at the cans now, LOL.
Elizabeth says
Ooooh! Very interesting! Thanks for chiming in.
Taylor says
If I want to double the recipe do I double the cook time of the pressure cooker? I have done this recipe a couple times now and love it, but wanted to make more for a bigger crowd. Thanks
Elizabeth says
No, you don’t need to double the cooking time. When you double the recipe, just be sure your pressure cooker is large enough to accommodate. The water and pasta should NOT fill the pot more than halfway. 🙂
David says
I have one huge problem with this recipe! It says 6 servings!?! More like 1! Although….it might have just tasted that good. Great recipe all around. I used about 12 ounces of cheese (6 and 6). Mine didn’t look like it was thick before the cheese was added but I just went with it and OMG is this stuff amazing! For spice I added siracha’s garlic hot sauce and it was a great add! I used about half a table spoon. Also, I hate mustard on principle so I didn’t add it and it turned out great. Can’t wait to add the green onions and bacon for the next batch!
Theresa says
This was excellent, only change I did was I used a medium shell pasta, a 1/2 packet of sazon and about 1tsp of adobo (goya) whisked those into the evap milk and eggs mixture. It was my first time making it in my Crock-Pot express cooker. Thanks
Rose A says
Friggin A!! So quick and easy!! The hardest part was shredding the cheese! Definitely a keeper! Thank you Elizabeth!
jamie says
mine came out watery too. i used the barilla elbow pasta, regular (not nonfat) evaporated milk, and followed all the instructions except mustard bc i didn’t have any. not sure why it’s so runny. it never really thickened in the two minutes after i added the liquid mixture. i even stirred an additional 1-2 minutes to see if it helped. it didn’t. i figured maybe it would all work out after adding the cheese, but it’s still runny. i took the pot out of the cooker so it wouldn’t keep cooking, but would stay warm and hopefully thicken up… hoping that helps! ????????
Elizabeth says
That’s really odd. What brand of pasta did you use?
Cynthia Joachim says
She stayed at the top….Barilla.
Celeste Bremer says
if I need to make this ahead, what is the best way to re-heat? does it keep well if not eaten right away?
Elizabeth says
Yes. It keeps very well. When reheating, add a splash more milk and stir. I think it’s easiest to reheat mac and cheese in either the microwave or in a pot on the stove. If reheating on the stove, I cover the bottom of the pot with milk, add the mac and cheese and heat over low.
Ben W. says
I just found this recipe and oh boy! It was absolutely the best mac and cheese I ever had! It was topped with crushed hot Cheetos. I know the sounds odd, but hey it’s comfort food, in the soft taste of the creamy cheese blended perfectly with the fire of the Cheetos. Baby back ribs are next!
Sluggo63 says
It was so delicious! Now my whole family wants it .
I want to make a double batch. My question is do you just double the ingredients?
Elizabeth says
As long as the ingredients don’t fill your pressure cooker more than halfway, it’s fine to double it. Glad you enjoyed it!
Sluggo63 says
Do I have to double the time for cooking the pasta?
Elizabeth says
No. You shouldn’t have to double the cooking time for the pasta.
Carrie P says
Hi,
Thanks for this recipe. It was a big hit with the family! Unfortunately, mine too came out a watery mess – much like many other comments here. I stirred to no avail. The noodle, evaporated milk and eggs mixture was not thickening up. I ended up pouring it into a 6 qt pot on my stove, and with more heat (over the Keep warm function), the liquid evaporated and it came out fantastic! I really don’t feel there’s any benefit in making this in the instant pot. I’ll be making this for sure as it was a big hit, but just not in the instant pot. Thanks again for the recipe, it really is an easy and great recipe!
Oh, and but the way, I meticulously followed the directions as I was very conscious of the reviews which suffered the same fate, and I wanted to avoid it.
Is it possible that some instant pot units provide more heat in their keep warm mode? This would explain why this recipe works for some. Just a thought.
Elizabeth says
What type of pasta did you use? I don’t know if it’s the different models of pressure cookers or the pasta.
Skip says
I used whole wheat elbows. Initially it came out watery, so I kept stirring up to 5 minutes…still watery. When I added the cheese, it thickened right up. It thickened even more as it cooled (which I hoped it would do). I added grilled Kielbasa wheels. My hispanic wife does not like spicy food so I kept the mustard and eliminated the hot stuff. The kids LOVED it. I have been trying to get away from boxed Mac and Cheese for a while. Of all the pressure cooker recipes I have tried, this one so far is the best. All of the others were a pain to clean up. This one was very easy.
Elizabeth says
Thanks for the info on using whole wheat pasta! Glad you enjoyed it!